Contents
Sign up and set up your account
Create your freelancer account from scratch — plan, business details, payment, and your first look at the dashboard.
- 1
Go to the sign-up page
Open the sign-up page using the button below — it takes you straight to the freelancer sign-up rather than the general one. Keep this guide open in its own tab and work alongside it.
There is no password to choose. Enter your email address and we send you a short code instead — one less credential to manage, and nothing to forget later.
Use the email you actually run your business from. It becomes the address clients see on invoices and proposals, and you can change the display name later but the login stays put.
Open the sign-up page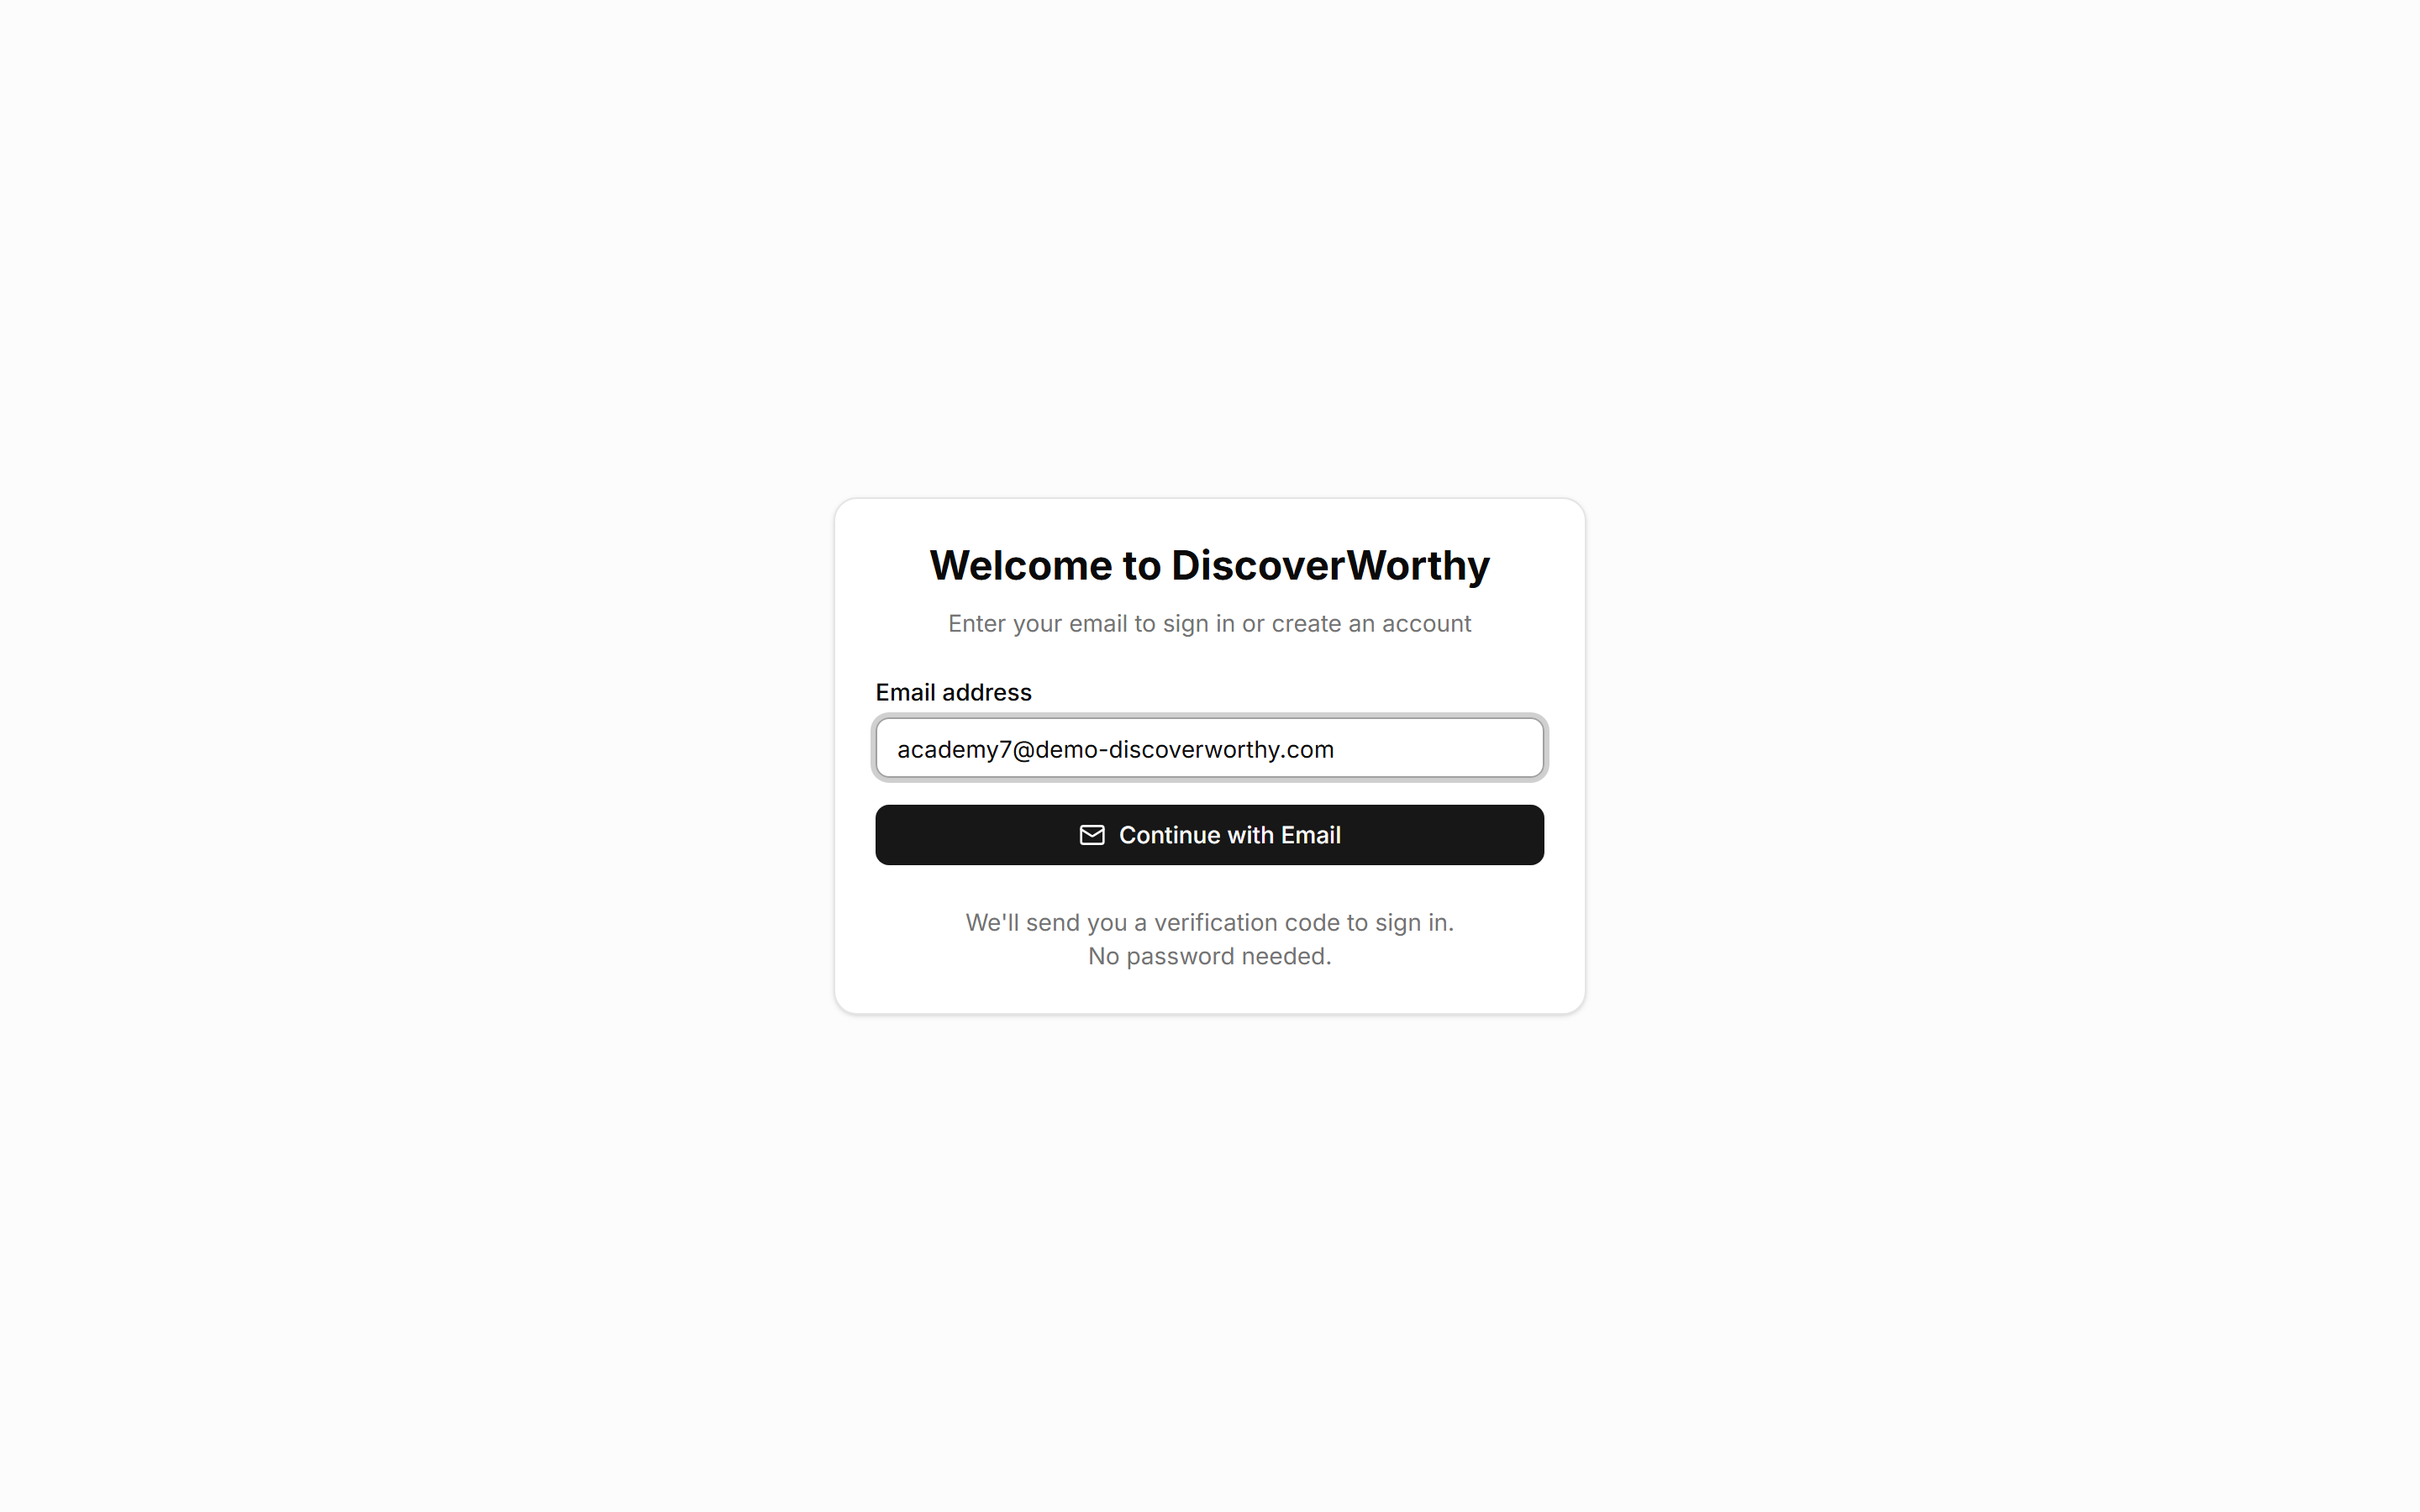
- 2
Enter the code from your email
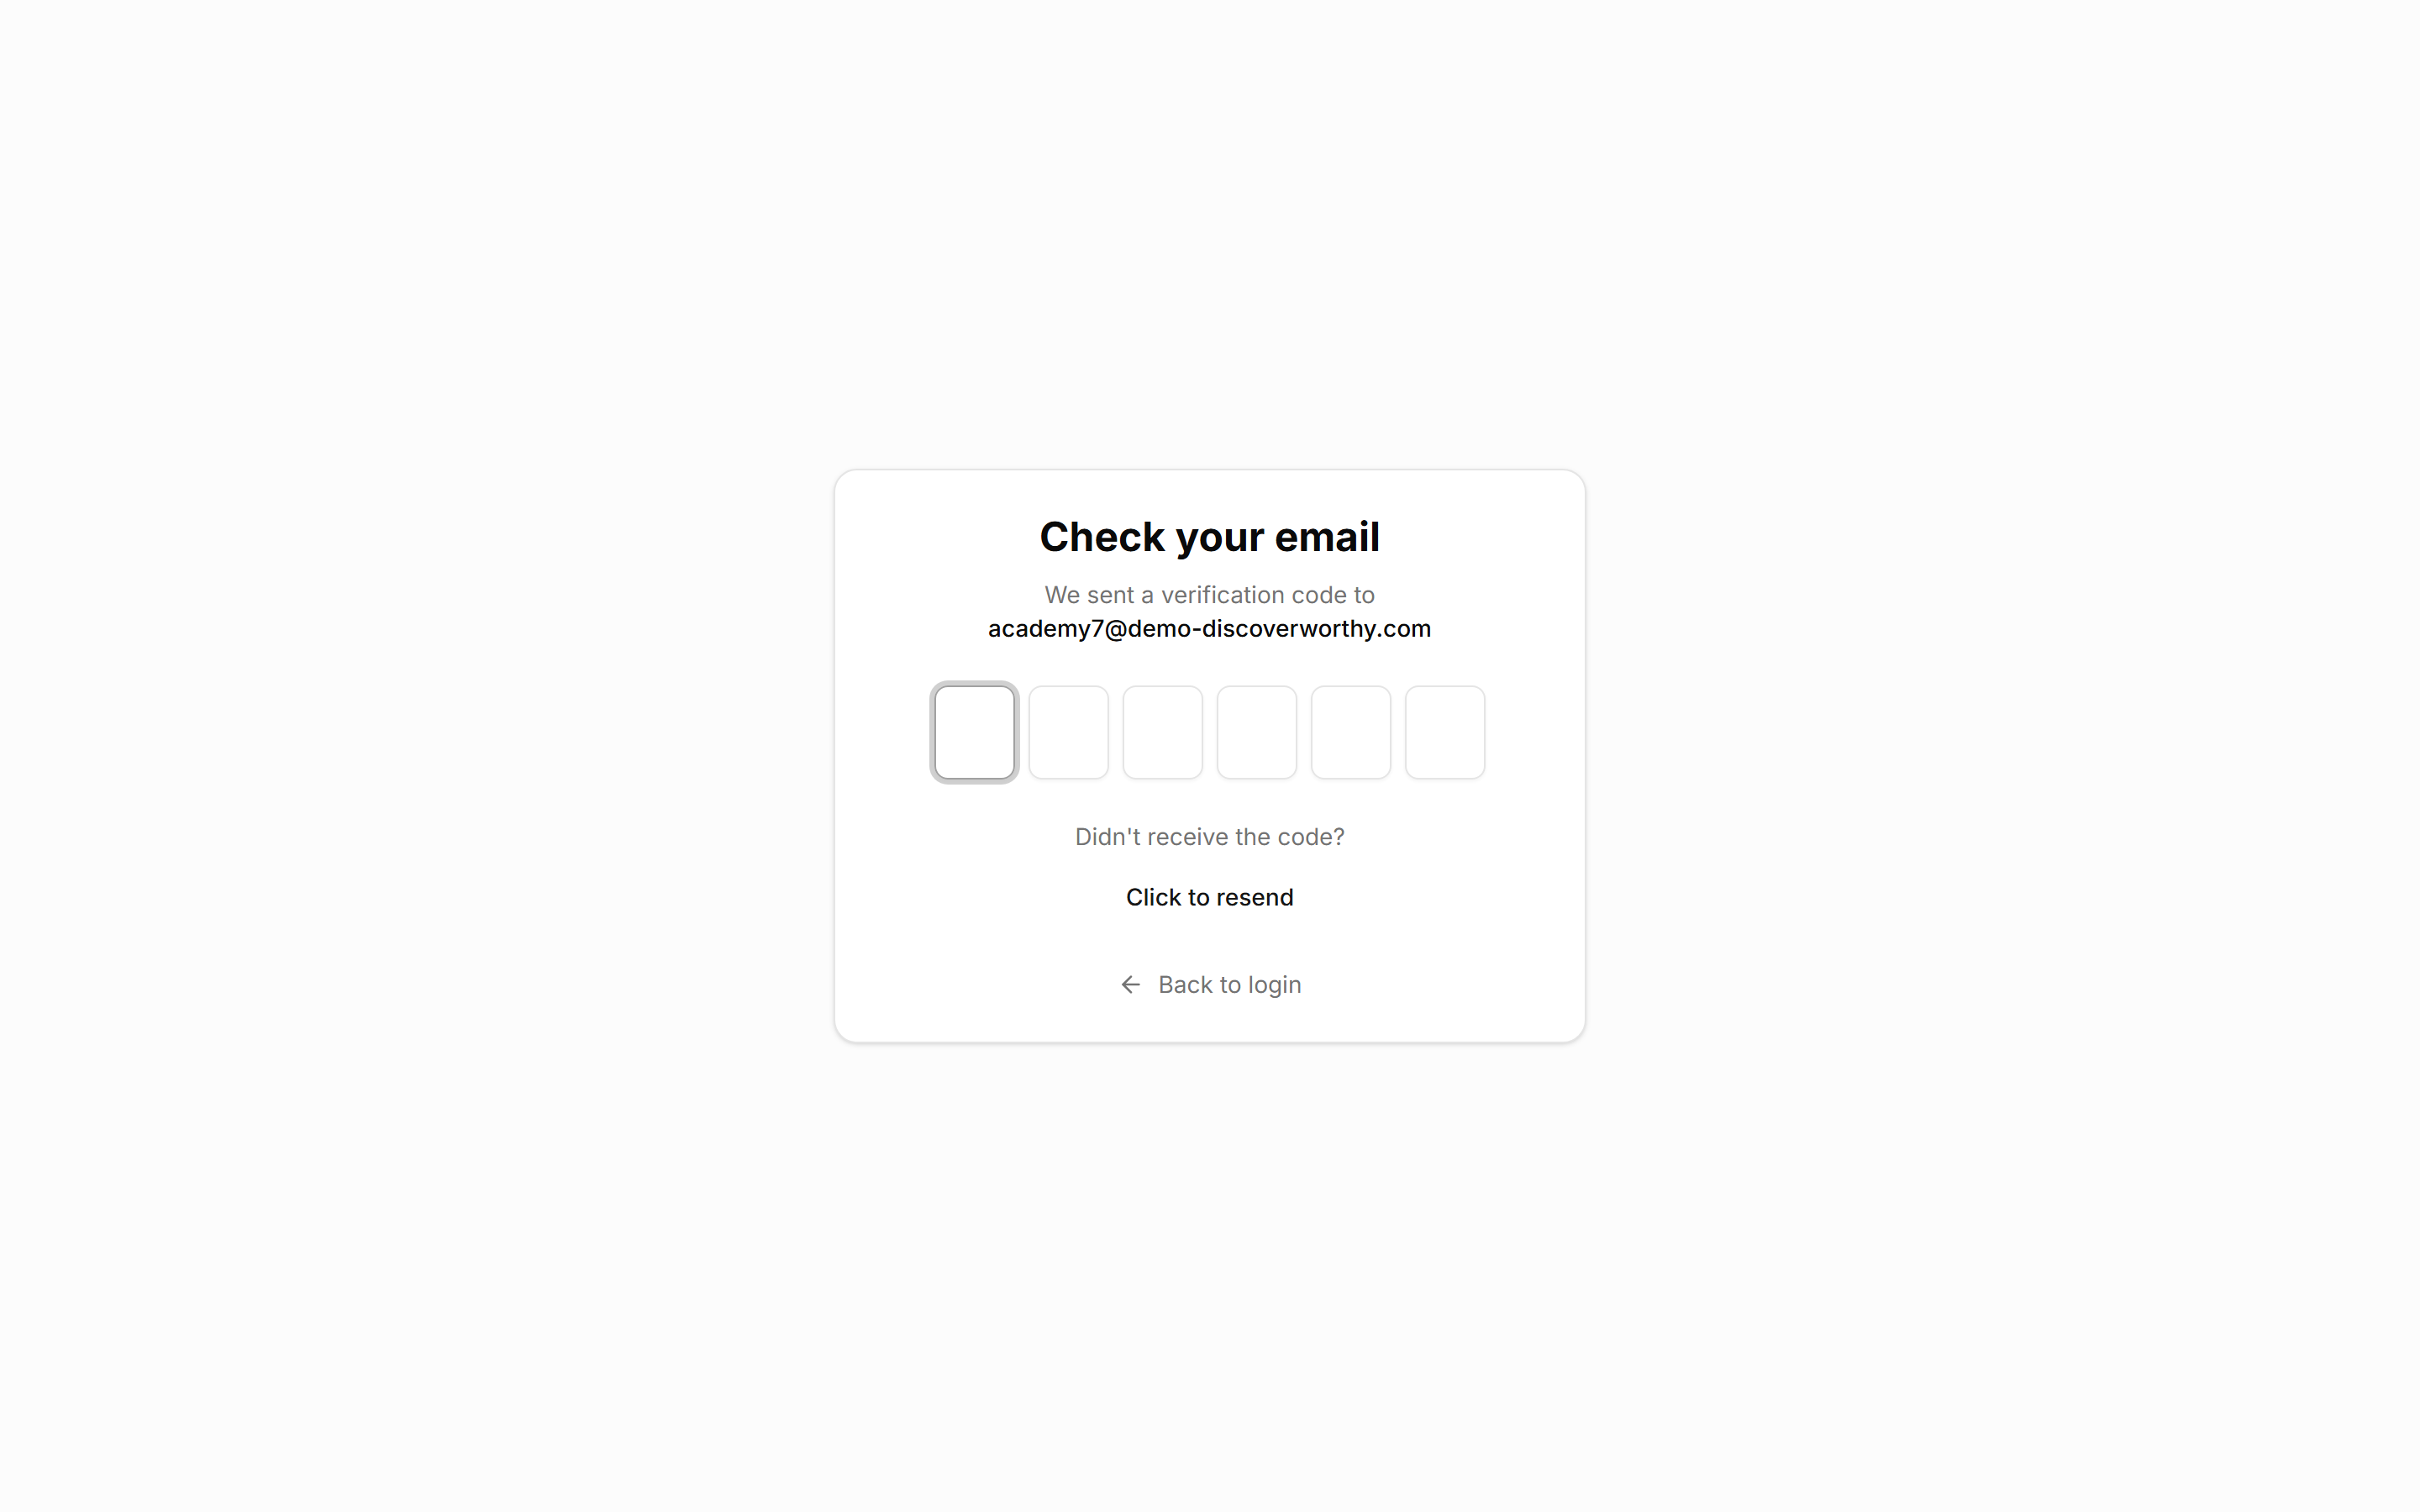
Within a few seconds you get a six-digit code. Type it into the boxes — it submits itself once the last digit lands, so there is no button to hunt for.
The code is short-lived. If it expires before you get to it, go back and request another; nothing is lost.
Nothing arrived? Check spam, and confirm you typed the address correctly on the previous screen — a typo sends the code somewhere else entirely.
- 3
Pick your plan
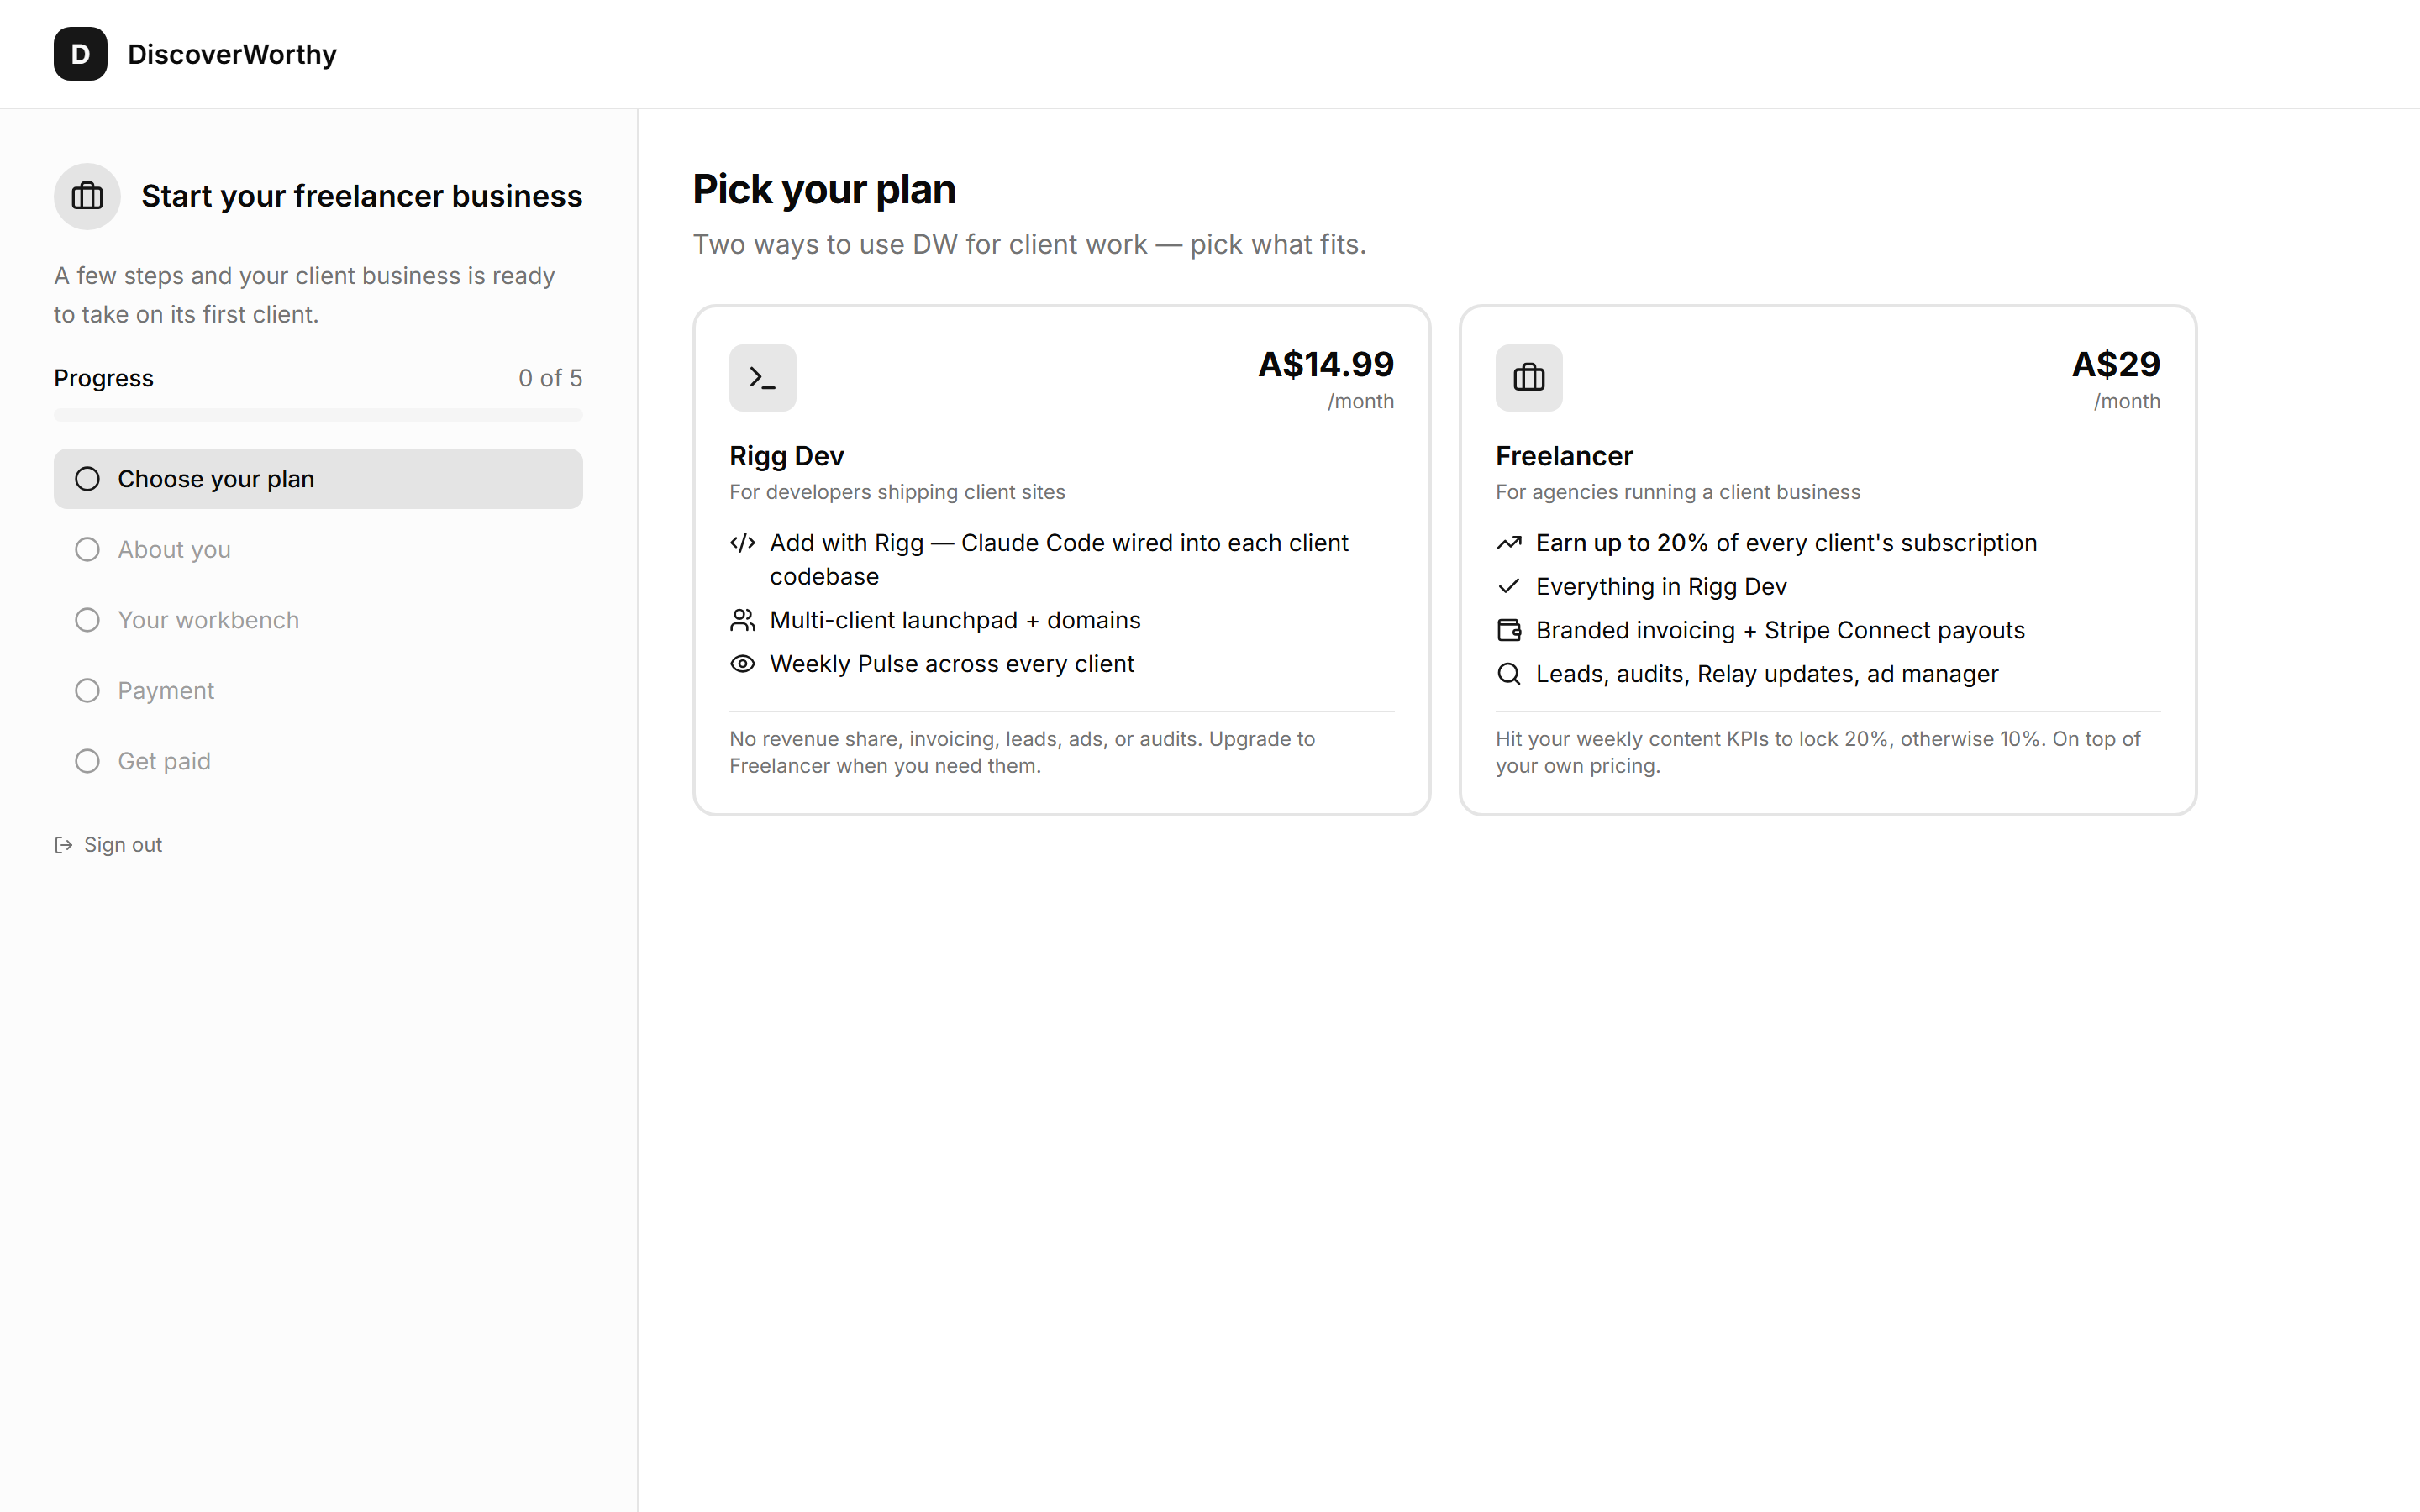
Two plans, and the difference is genuinely about what kind of work you do rather than how much you want to spend.
Rigg Dev suits developers shipping client sites: the multi-client launchpad, domains, and weekly Pulse across every client. It does not include invoicing, leads, ads, or audits.
Freelancer suits anyone running a client business: everything in Rigg Dev, plus branded invoicing with payouts to your bank, lead tracking, audits, Relay updates, and the ad manager. It also earns you a share of each client subscription you bring in.
If you are unsure, take Freelancer. It is the fuller product, and the rest of this Academy assumes it.
You are not locked in. Starting on Rigg Dev and upgrading later is a normal path — you just will not see the invoicing and lead tools until you do.
- 4
Tell us about your business
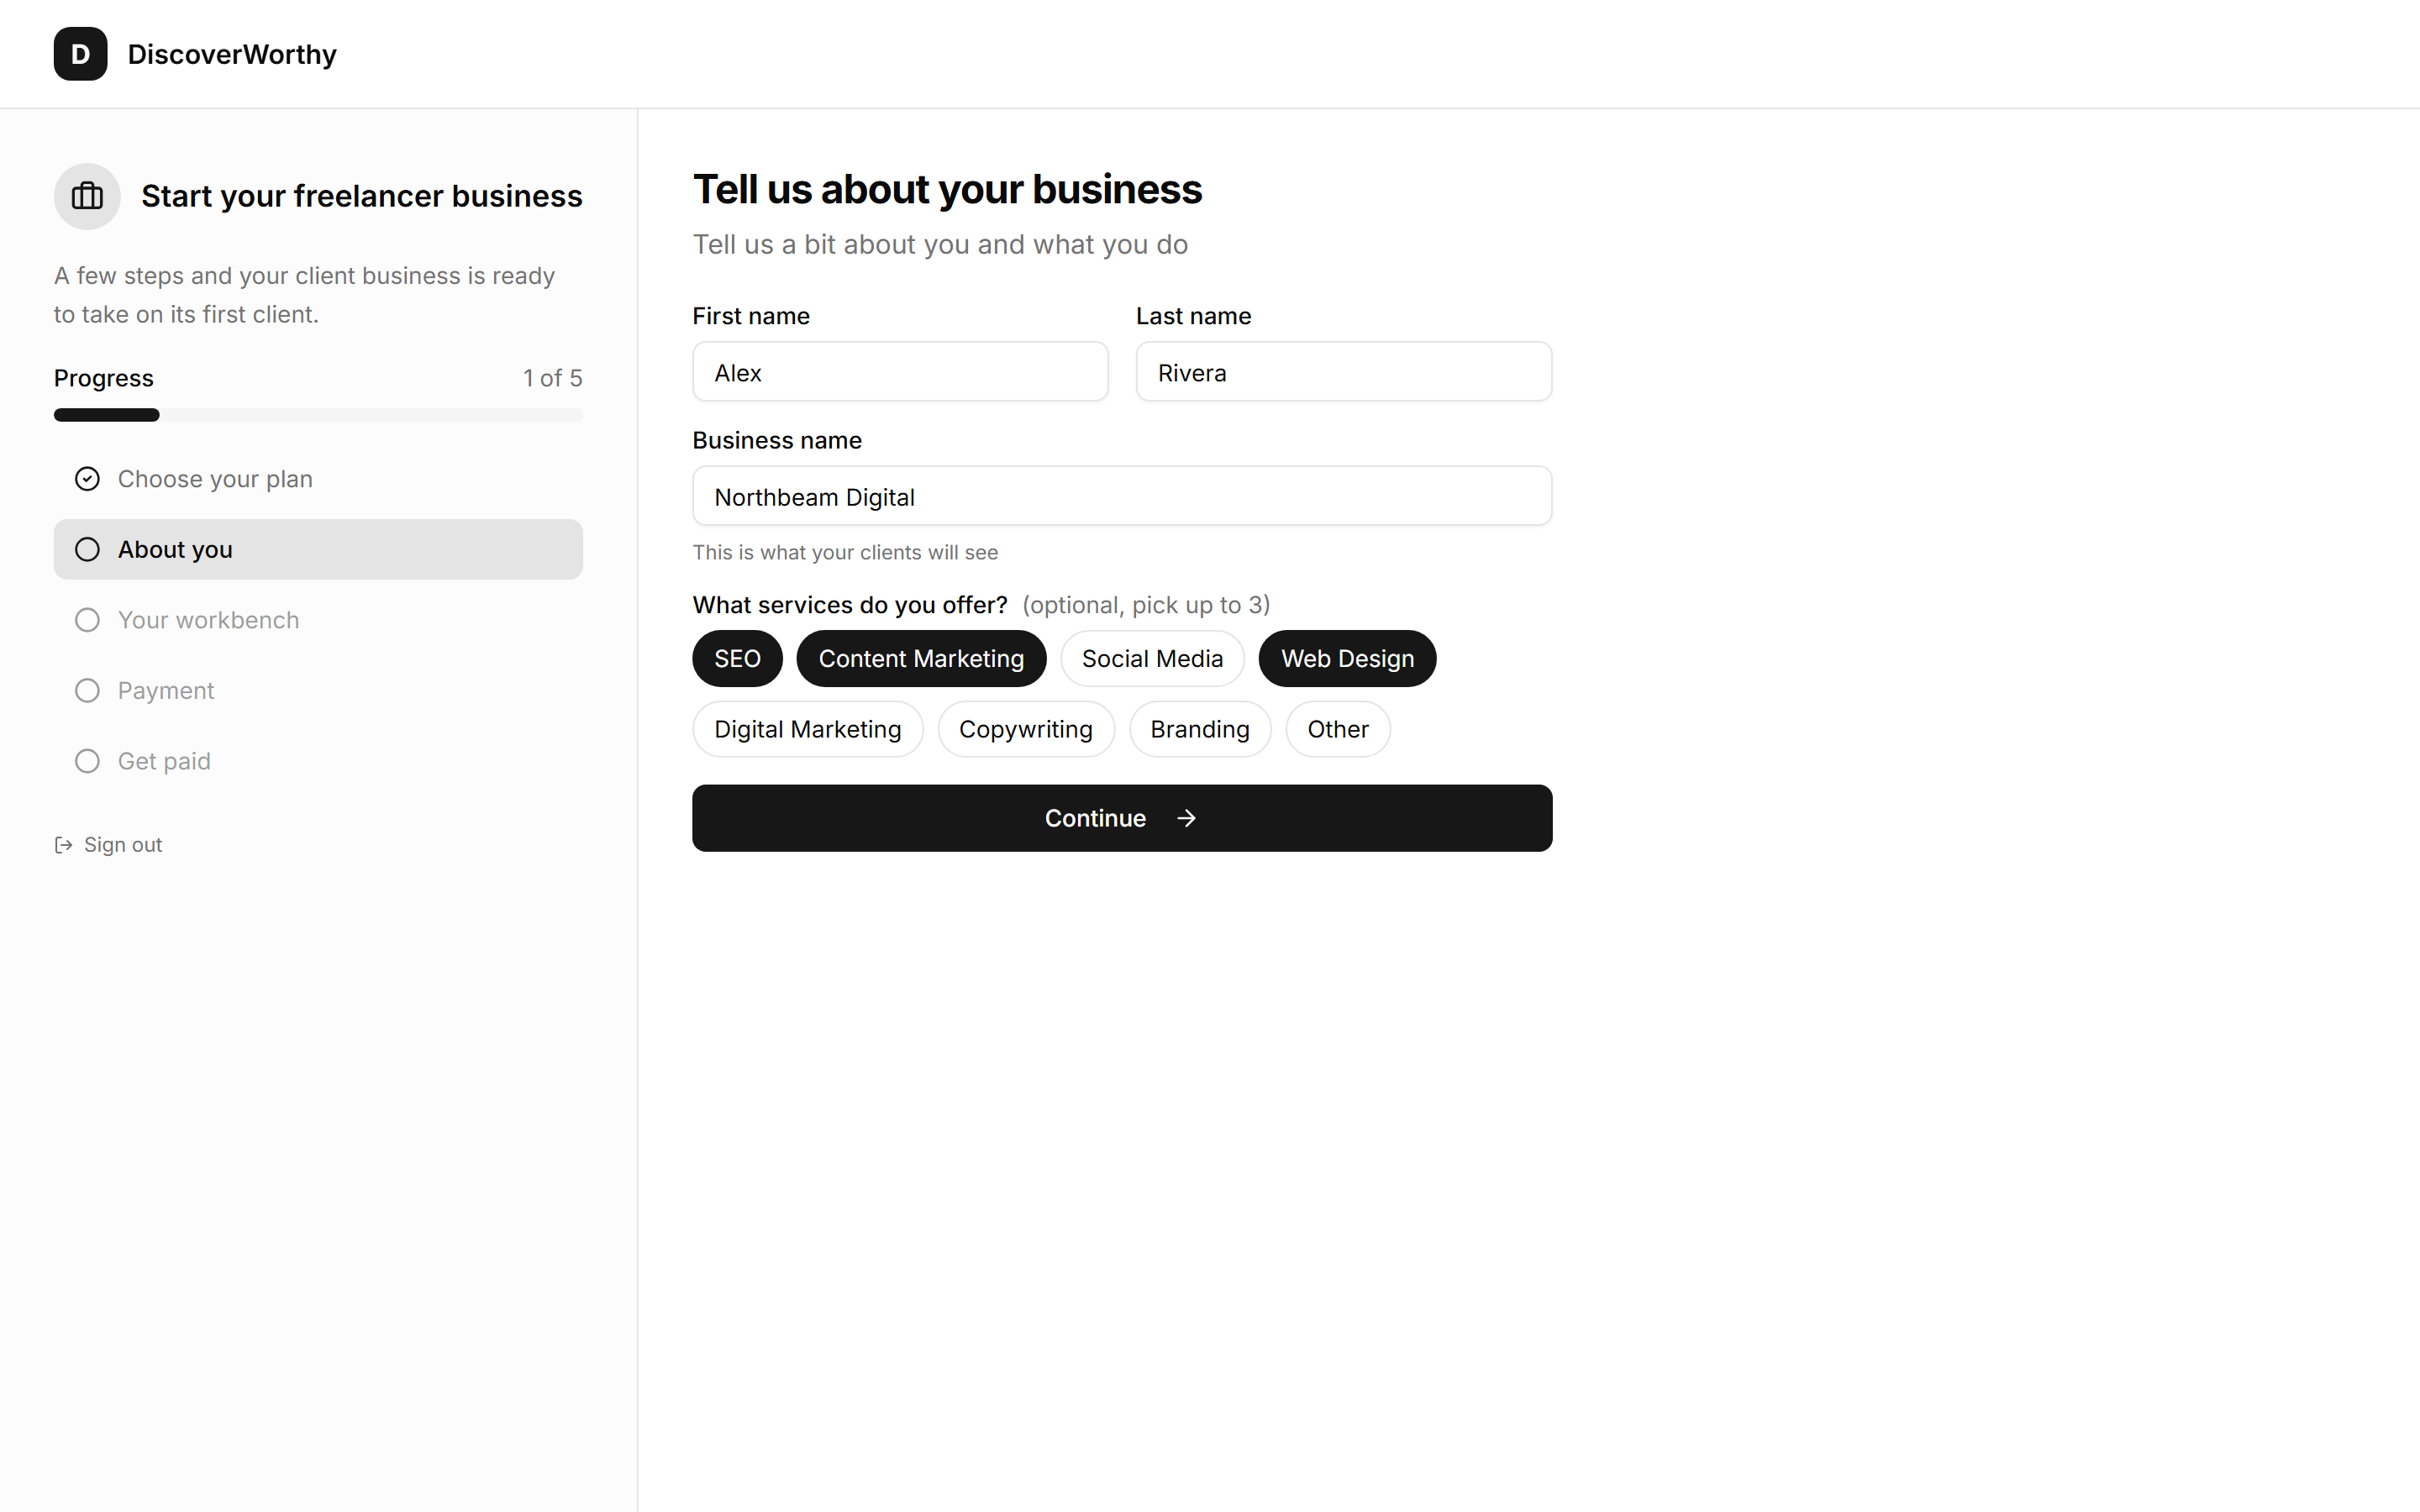
Your name, your business name, and up to three services you offer.
Take the business name seriously — it is what clients see on everything you send them. "Northbeam Digital" reads like a business; your own name works too if that is how you trade.
The services are optional and only shape a few defaults. Pick the closest three and move on; you are not committing to anything.
- 5
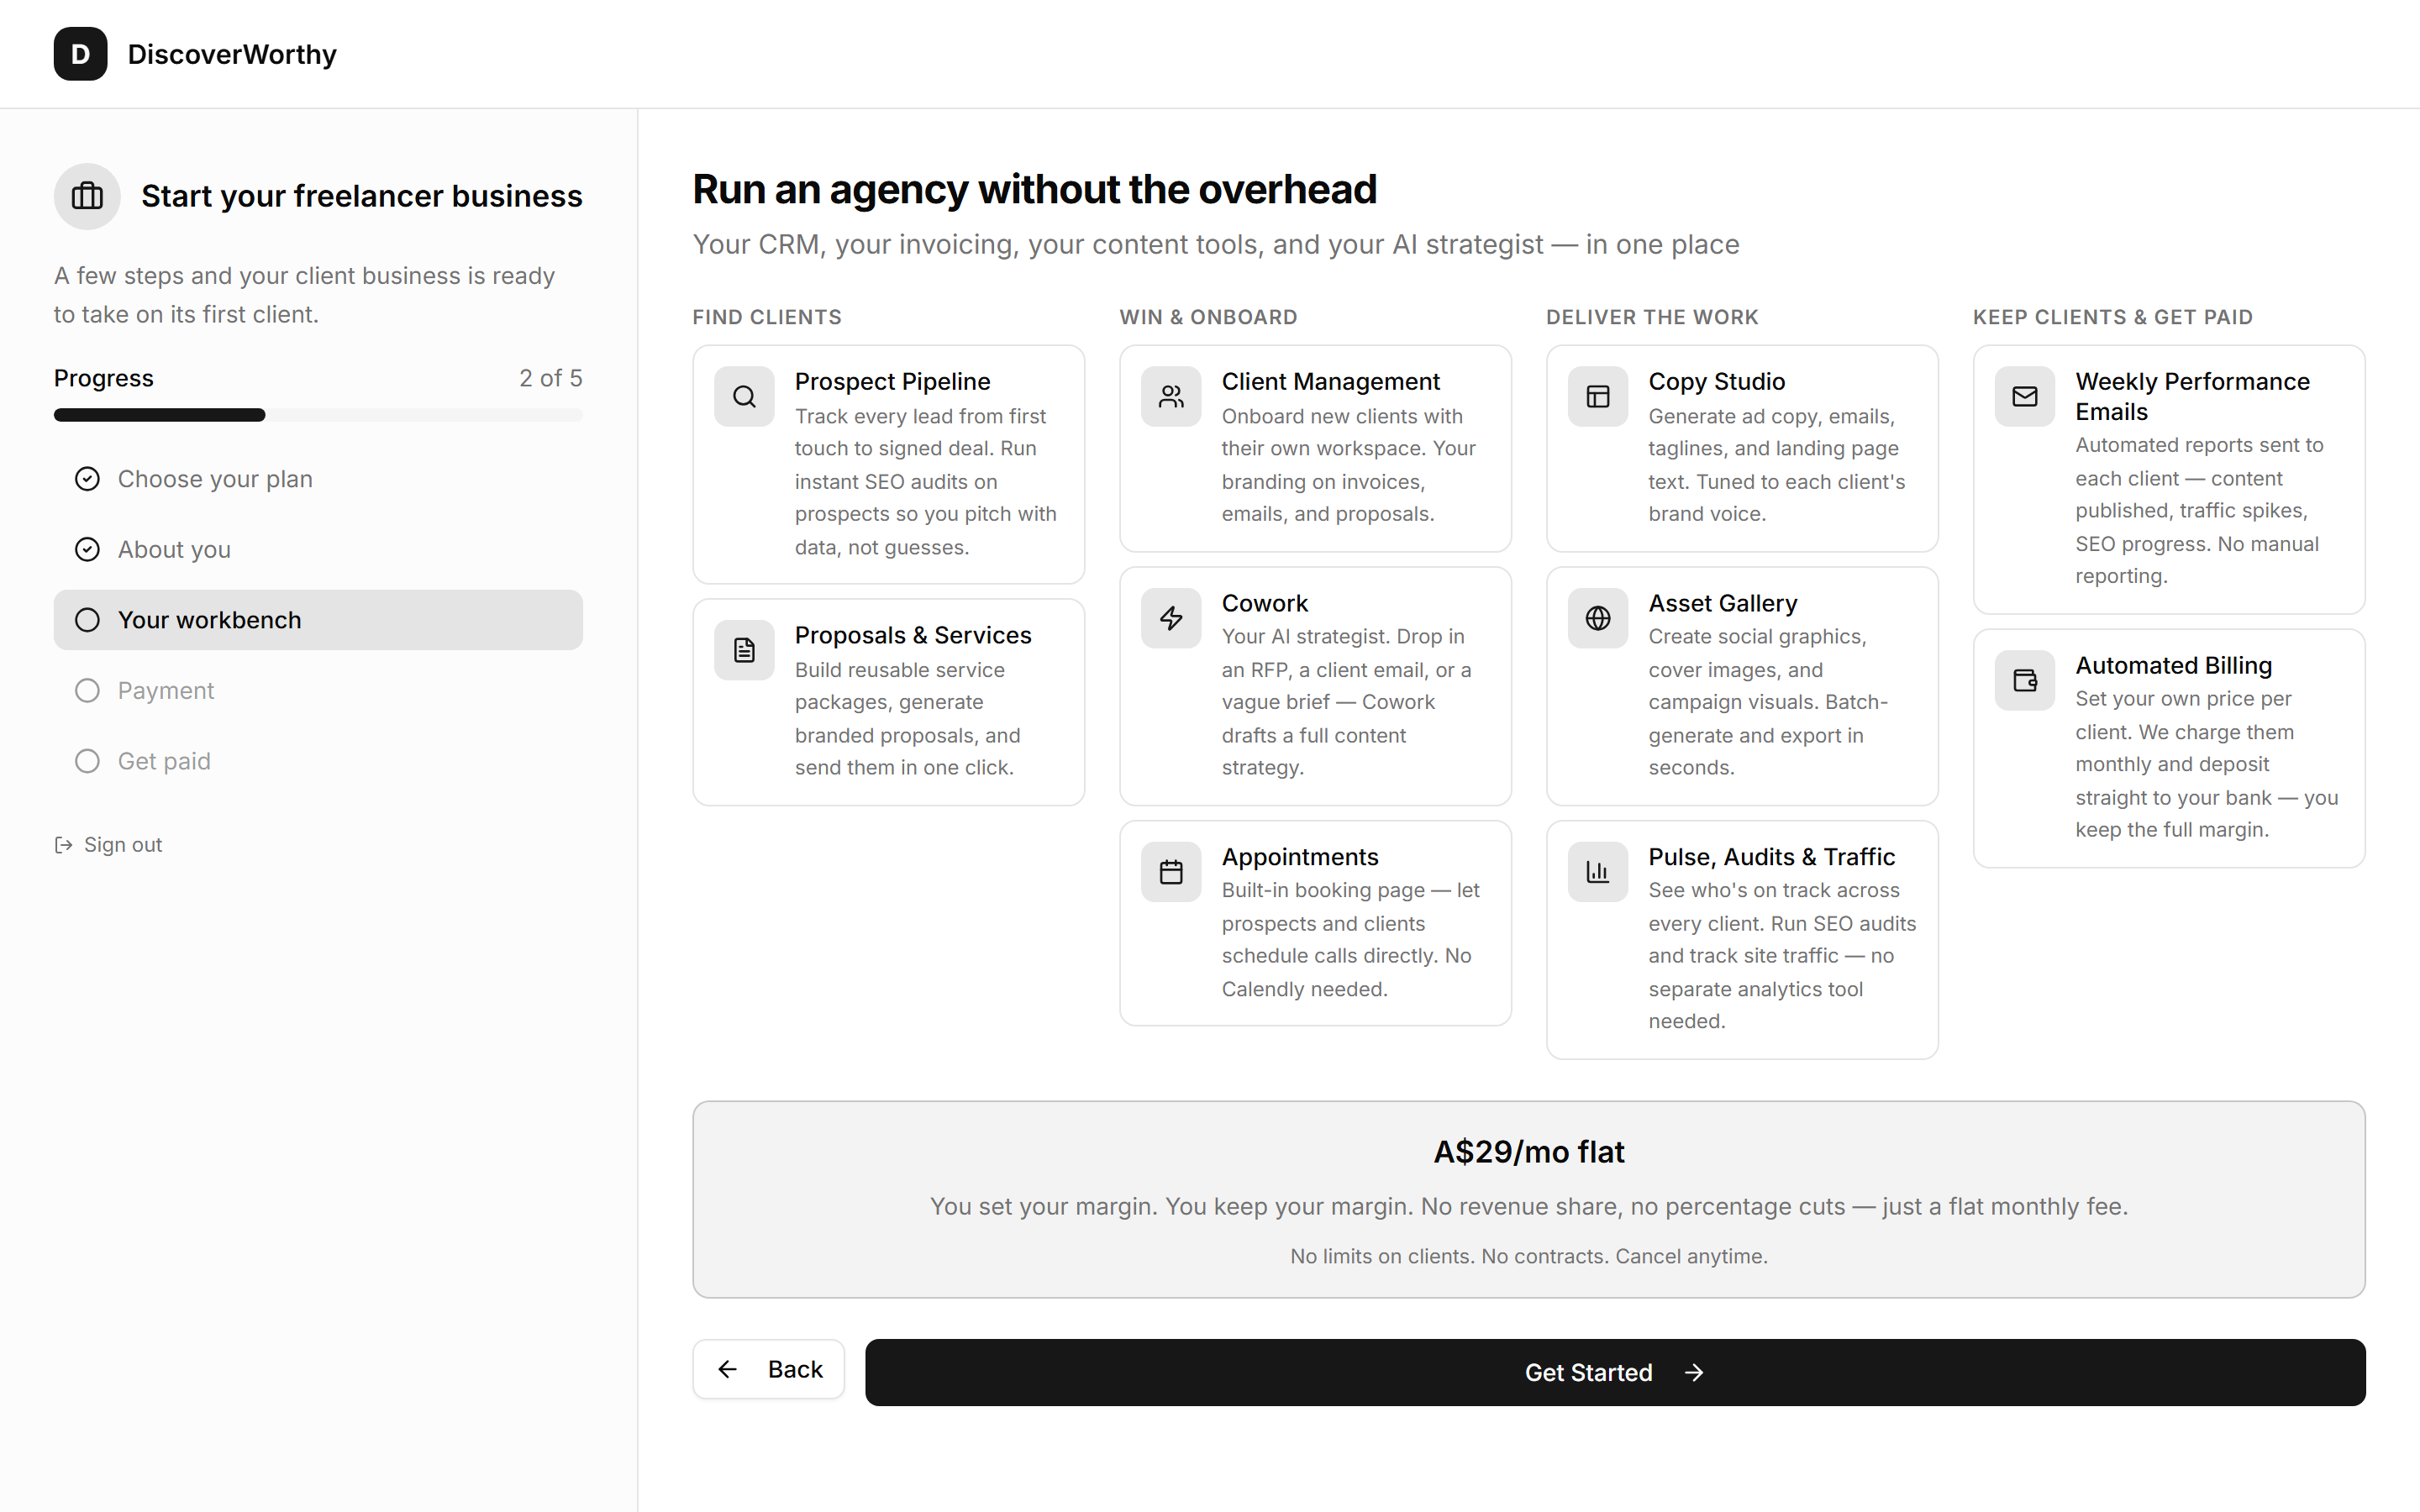
Skim what you are getting
The next screen lays out the whole workbench in four columns, reading left to right in the order the work actually happens: find clients, win and onboard them, deliver, then keep them and get paid.
It is worth thirty seconds. Most of the tools named here get their own guide in this Academy, and knowing they exist saves you going looking for something you already have.
- 6
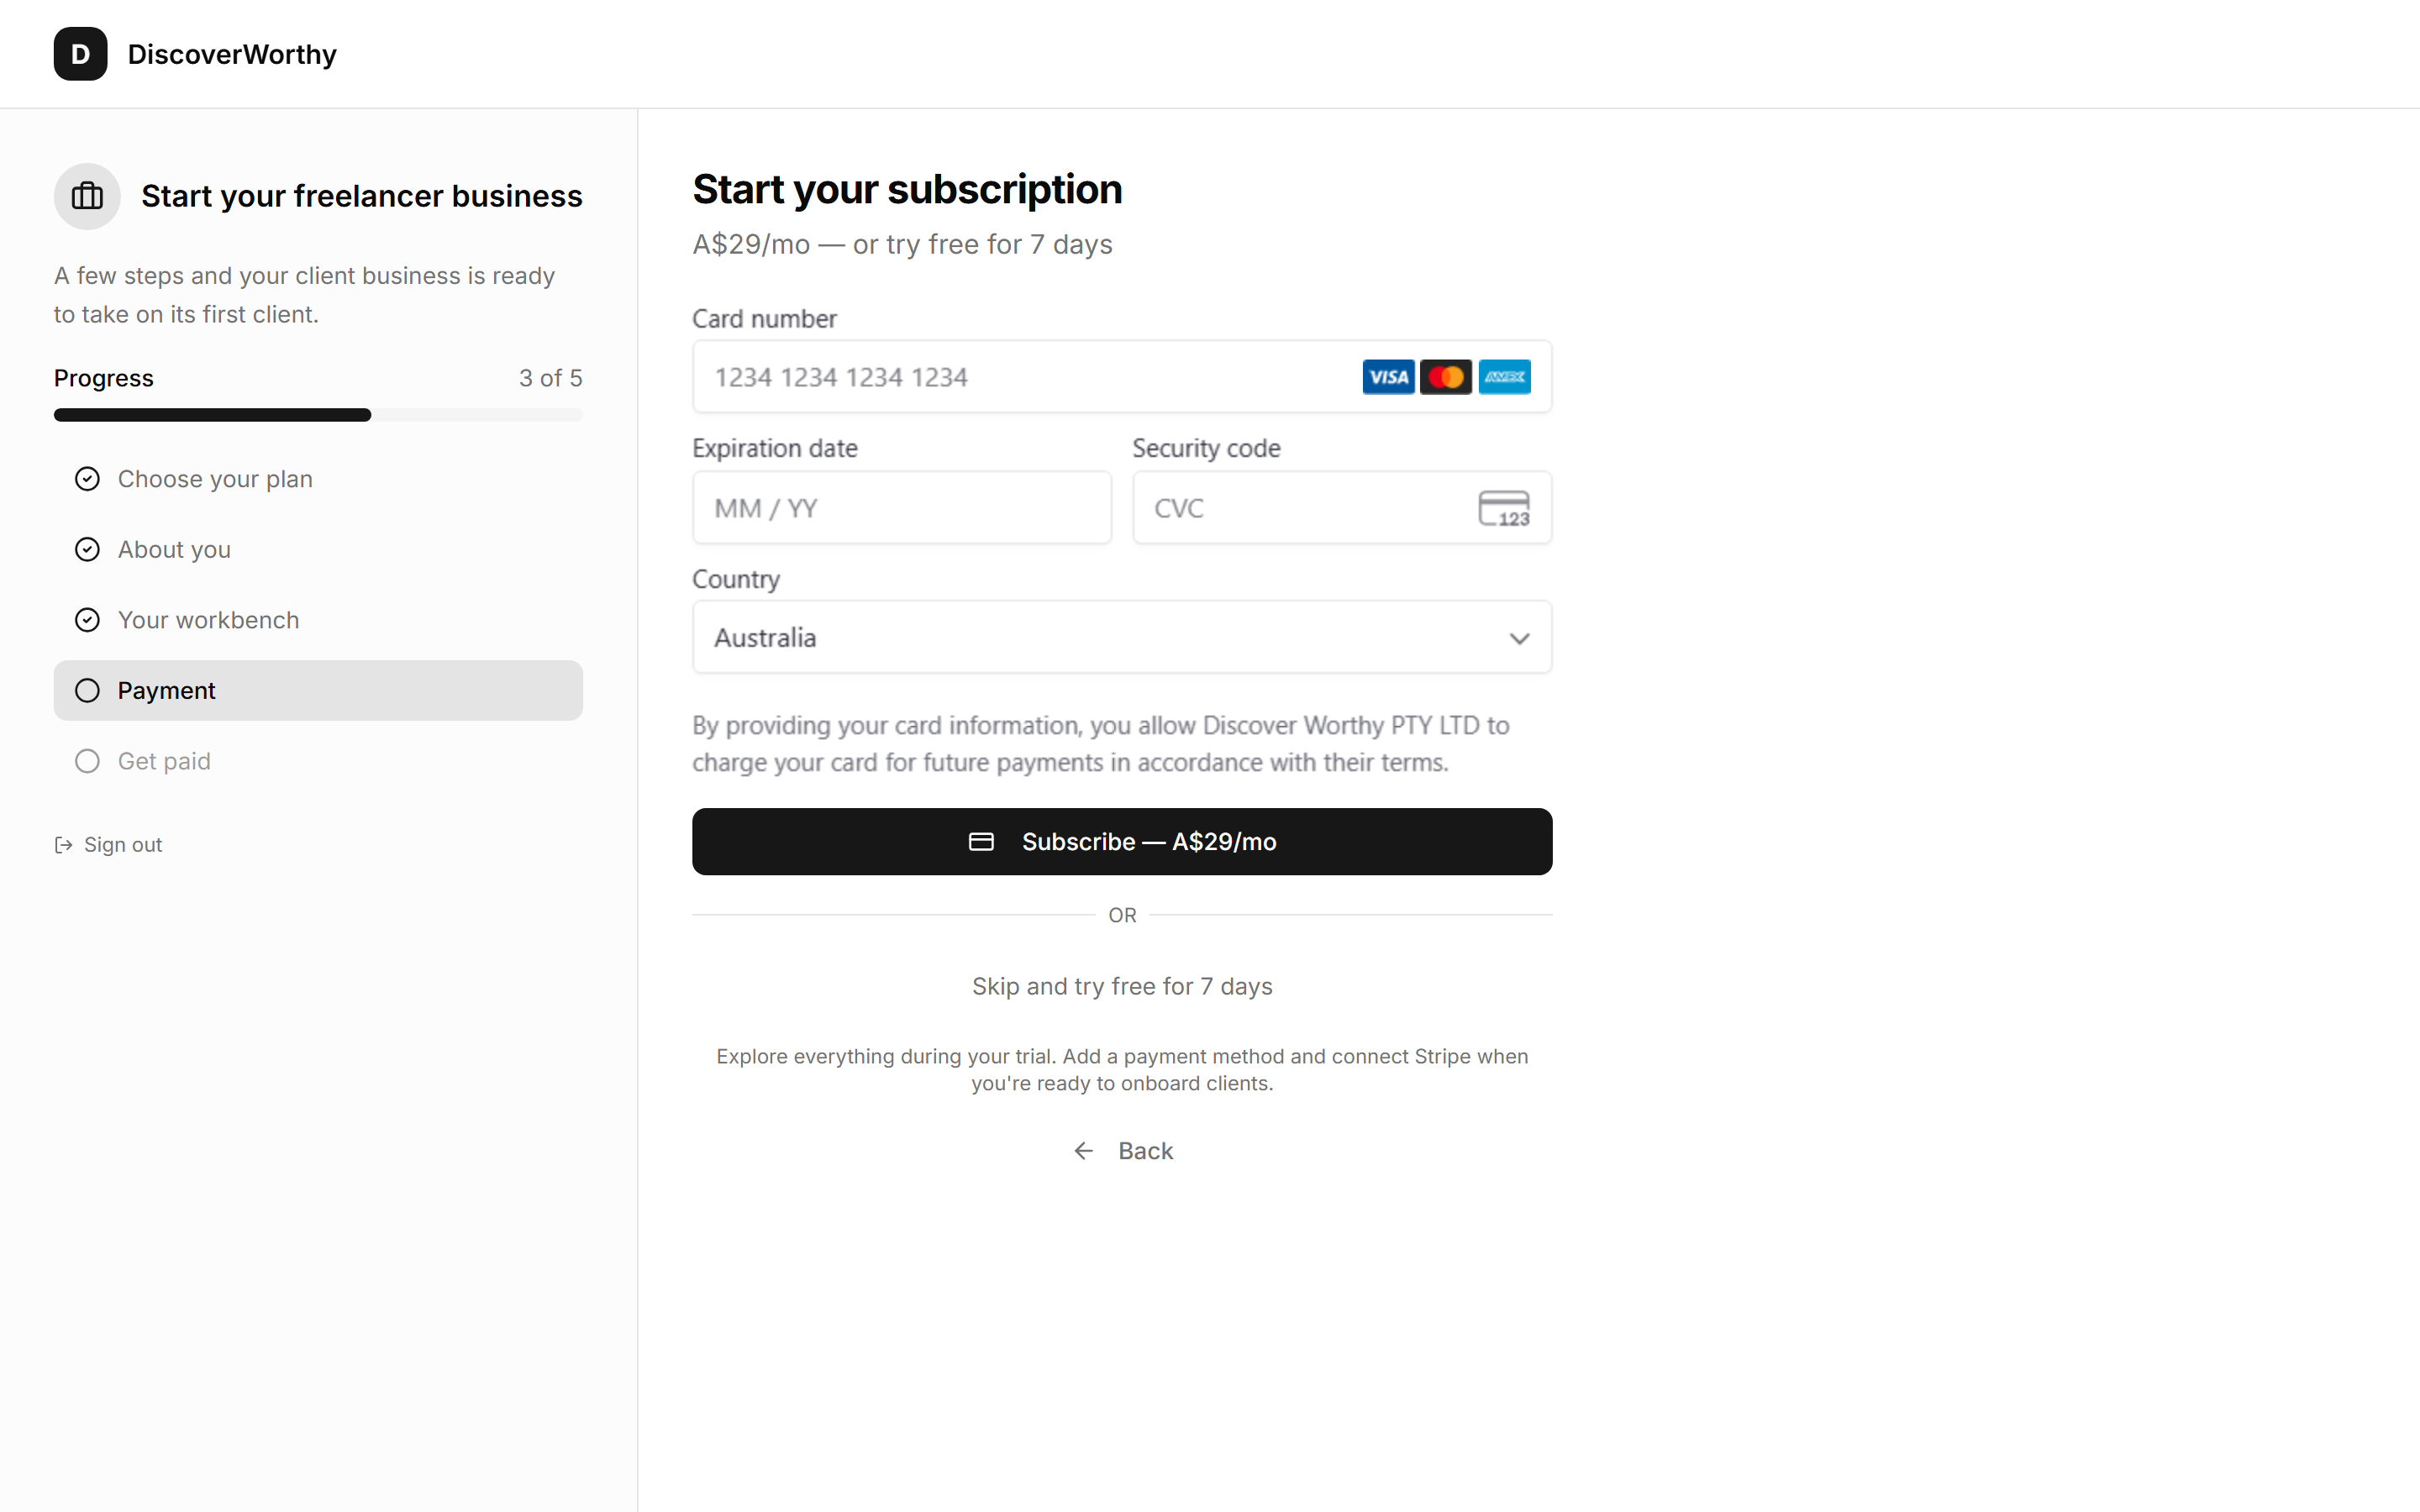
Add a card, or start the trial
You can subscribe now, or take the free trial and decide later — the link sits just under the card form.
The trial gives you the full workbench to explore. What it does not give you is the ability to add and bill real clients, so if you already have a client waiting, subscribing now saves you a second trip.
Whichever you choose, this is the subscription you pay us. What you charge your own clients is entirely separate, and you set it yourself later.
Getting paid by your clients needs one more thing — connecting Stripe, so money lands in your bank. You can do that now if prompted, or from Account whenever you are ready.
- 7
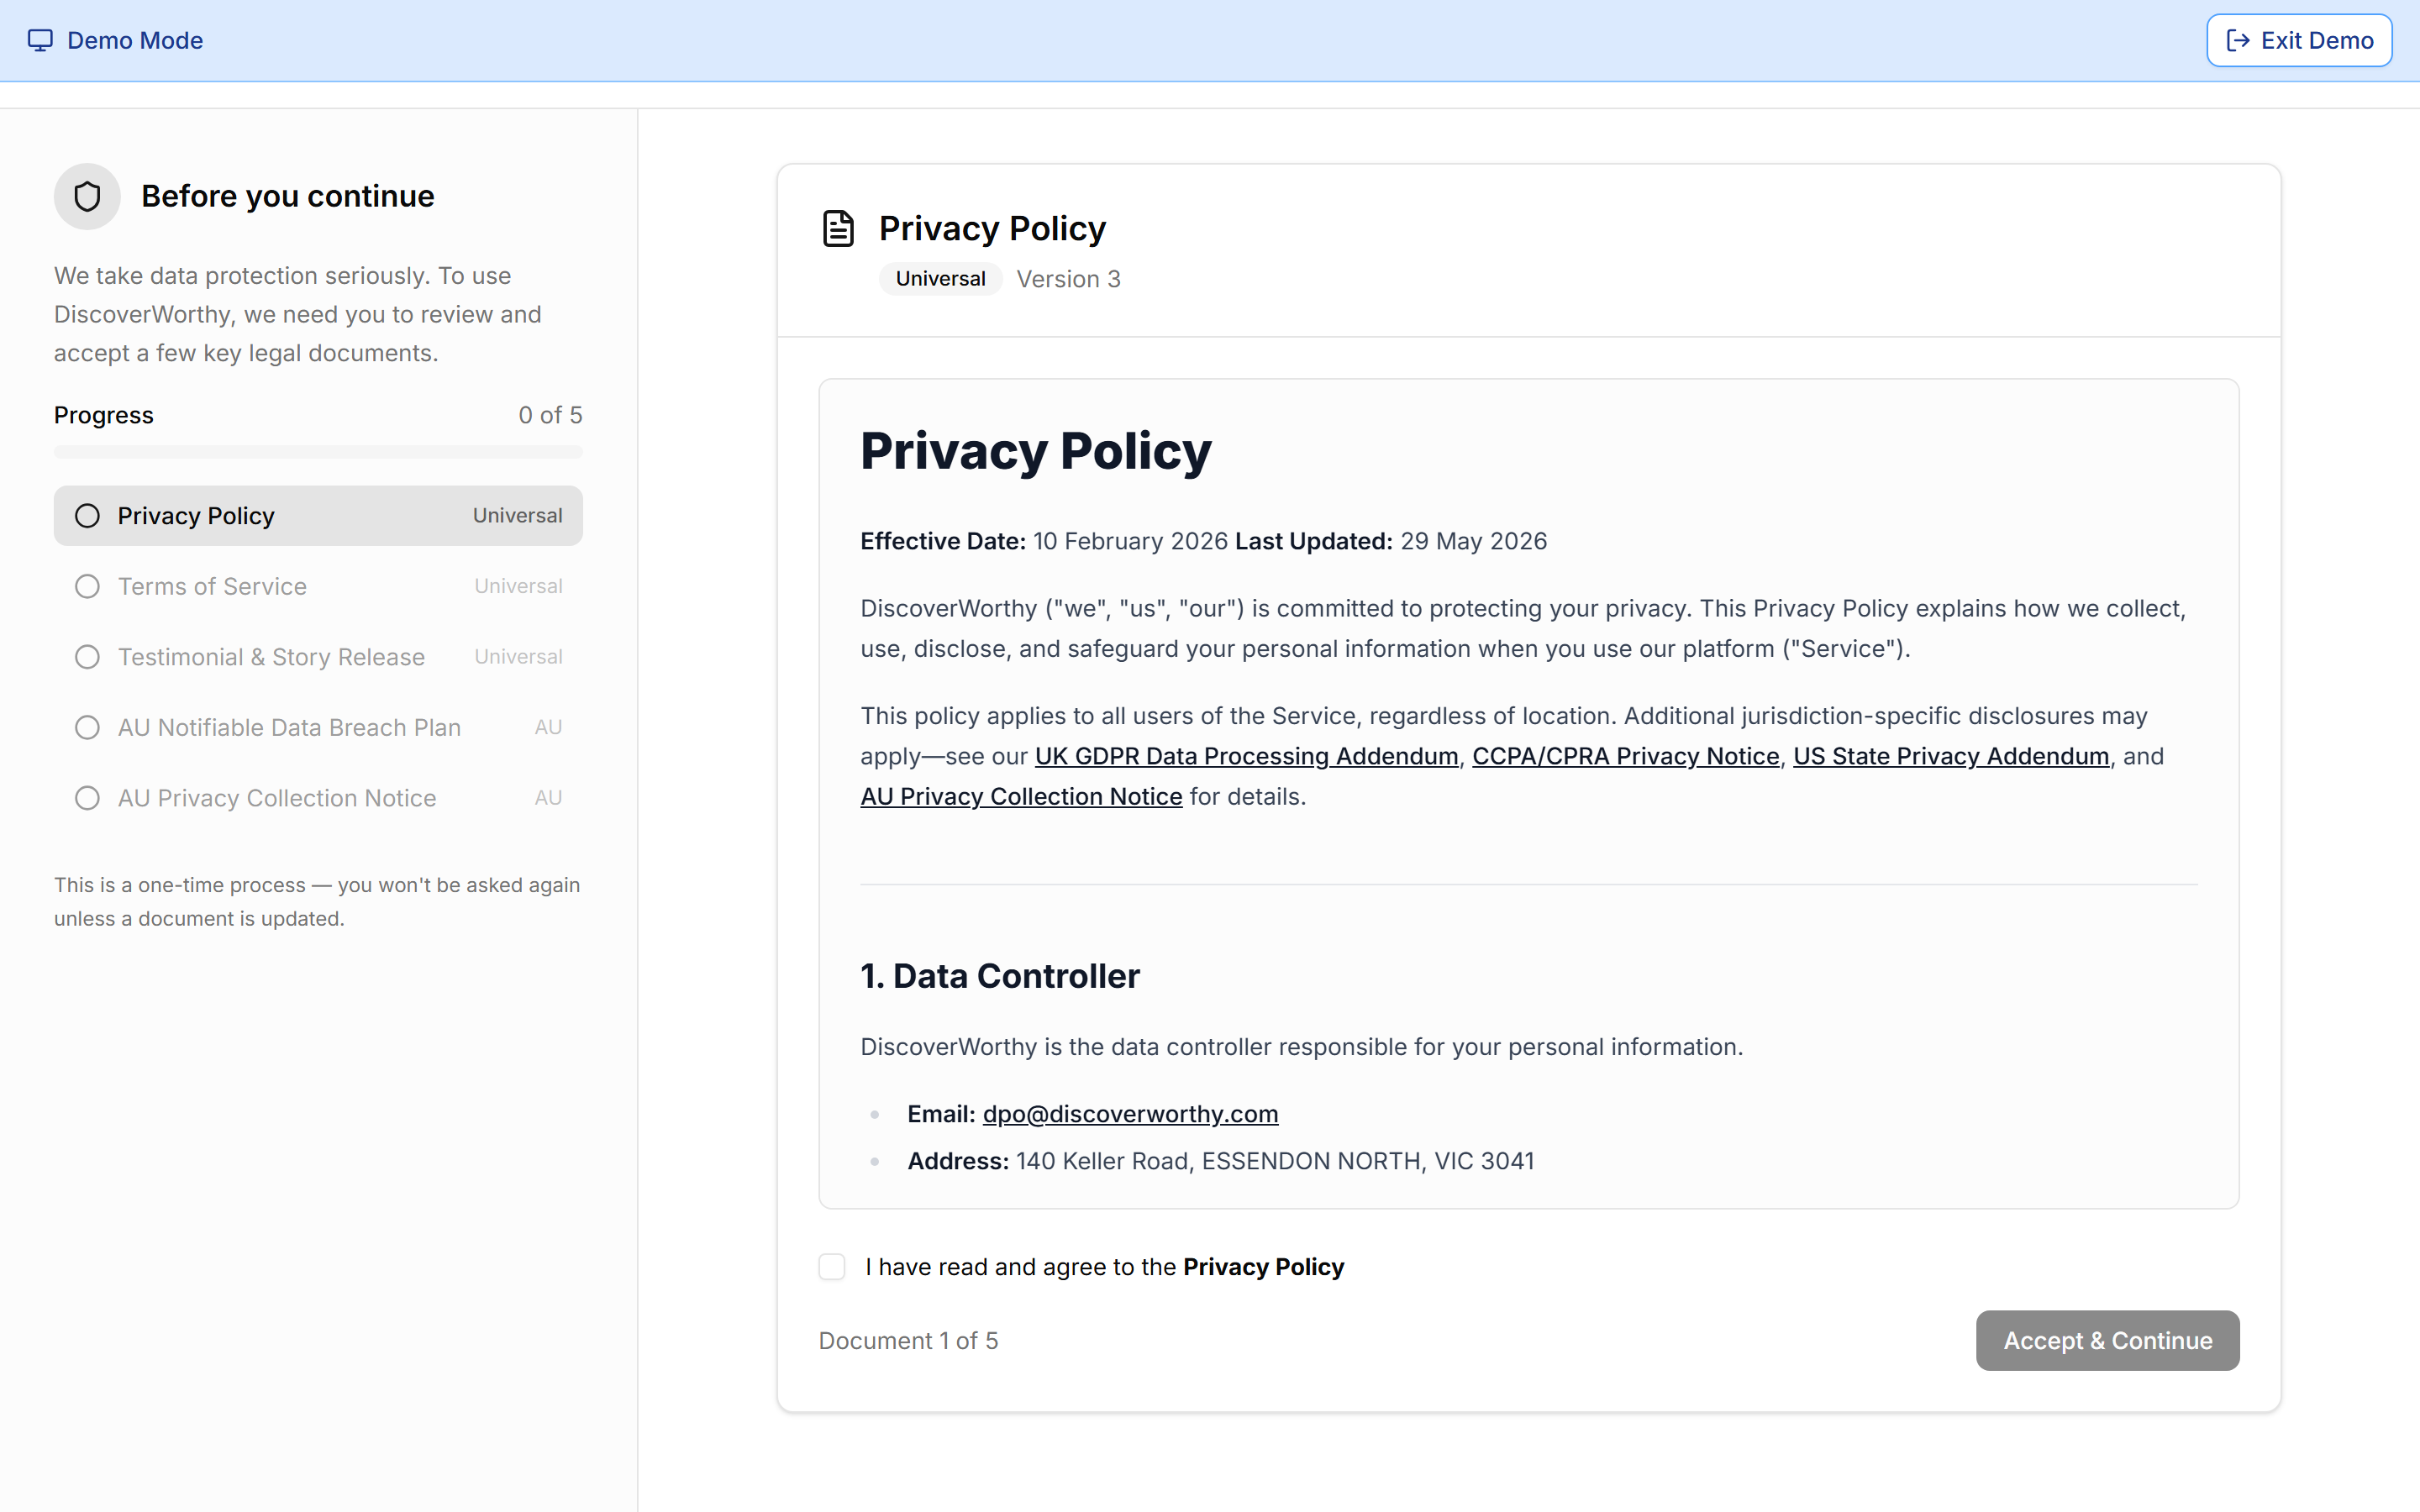
Accept the legal documents
A one-time run through the agreements — privacy, terms, and a few notices specific to your region. Tick and continue through each.
This only happens once. You will not be asked again unless one of the documents is updated.
- 8
You are in
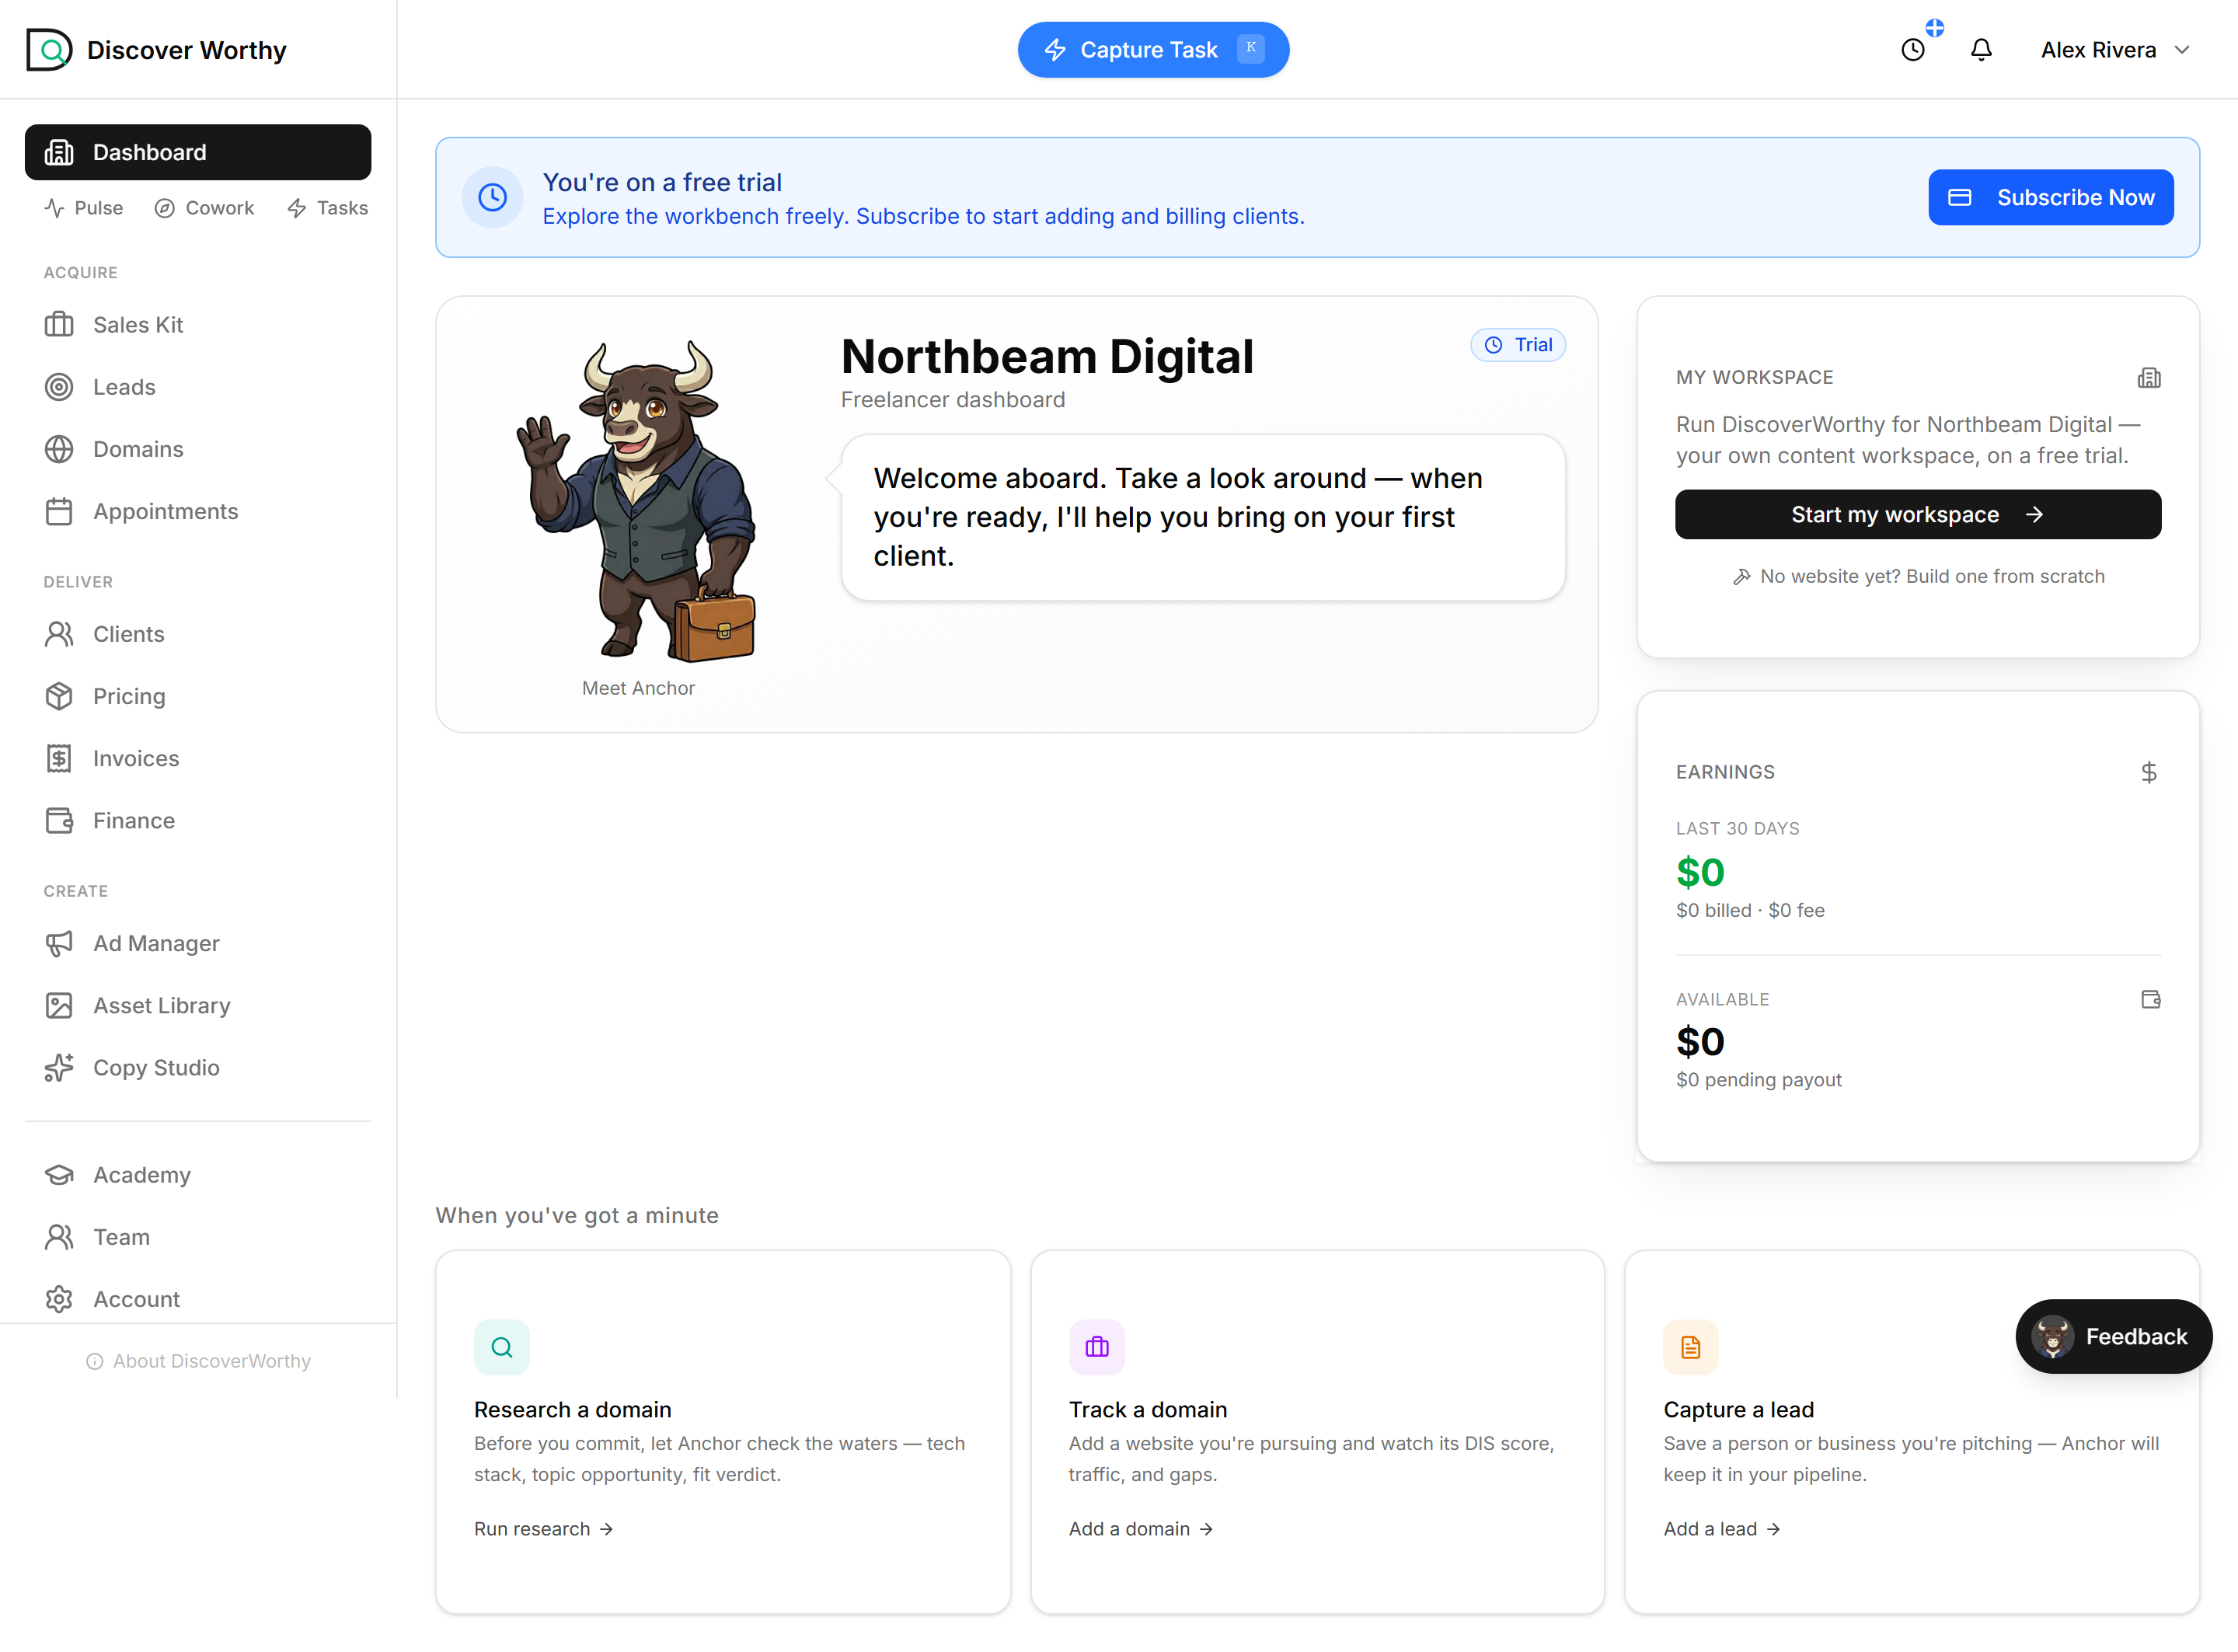
This is your dashboard, and it is deliberately quiet until you have clients.
Down the left, the navigation follows the shape of the work: Acquire to win clients, Deliver to run them, Create to make the output. Team and Account sit at the bottom.
Anchor is the character up top — the assistant that helps you bring on your first client. The cards along the bottom are the three sensible first moves: research a domain before you pitch, track a domain you are chasing, or save a lead.
If you subscribed, the trial banner is gone. If you took the trial, it stays until you subscribe.
Next up
Add a client
Bring a client onto DiscoverWorthy — whether they already have a website or you are building one from scratch — and set what you charge them.
Ready to start?
Create your freelancer account and follow along.